栏目分类:
子分类:
返回
文库吧用户登录
快速导航关闭
当前搜索
当前分类
子分类
实用工具
热门搜索
文库吧 > IT > 软件开发 > 后端开发 > Java

win10安装Oracle11g全网最细教程(一次成功)

Java 更新时间: 发布时间: IT归档 最新发布 模块sitemap 名妆网 法律咨询 聚返吧 英语巴士网 伯小乐 网商动力

win10安装Oracle11g全网最细教程(一次成功)

安装包下载及解压

易错点:安装包解压要注意

  • 下载11g安装包

![image.png](https://img-blog.csdnimg.cn/img_convert/28196f02d02d1cf7e638aa76a0e5bfdf.png#clientId=ue9cad3d4-073f-4&crop=0&crop=0&crop=1&crop=1&from=paste&height=64&id=u2e4fb140&margin=[object Object]&name=image.png&originHeight=88&originWidth=303&originalType=binary&ratio=1&rotation=0&showTitle=false&size=5819&status=done&style=none&taskId=u505e7fb6-f98f-429a-ae35-6ed7e068f44&title=&width=220.36363636363637)

  • 了解下文件结构:

![image.png](https://img-blog.csdnimg.cn/img_convert/36a9abb40f9c926b6247829abb14cade.png#clientId=ue9cad3d4-073f-4&crop=0&crop=0&crop=1&crop=1&from=paste&height=100&id=u70c8d46e&margin=[object Object]&name=image.png&originHeight=138&originWidth=523&originalType=binary&ratio=1&rotation=0&showTitle=false&size=11505&status=done&style=none&taskId=u3dae6d14-e2ef-4a11-8936-07a83d92f95&title=&width=380.3636363636364)![image.png](https://img-blog.csdnimg.cn/img_convert/e8eed5fb33c2089b36aad045d124ca41.png#clientId=ue9cad3d4-073f-4&crop=0&crop=0&crop=1&crop=1&from=paste&height=103&id=u4ef20b7b&margin=[object Object]&name=image.png&originHeight=142&originWidth=523&originalType=binary&ratio=1&rotation=0&showTitle=false&size=10236&status=done&style=none&taskId=u6af2b496-e66f-46f1-956d-562b53cb955&title=&width=380.3636363636364)

  • 解压安装包

注意:先解压win64_11gR2_database_1of2,再解压 win64_11gR2_database_2of2

  • 我的情况

两个压缩包拖到C盘sde目录下,解压 win64_11gR2_database_1of2到当前文件夹得到database文件夹;然后再解压 win64_11gR2_database_2of2到当前文件夹。
特意说明一下,这里容易出错。
![image.png](https://img-blog.csdnimg.cn/img_convert/e0d542fe26fddc4f2fa9fa3c0e1f9a16.png#clientId=ue9cad3d4-073f-4&crop=0&crop=0&crop=1&crop=1&from=paste&height=193&id=ub2fd3366&margin=[object Object]&name=image.png&originHeight=265&originWidth=543&originalType=binary&ratio=1&rotation=0&showTitle=false&size=12986&status=done&style=none&taskId=u4aec1f1c-1b48-4d86-84ad-c25c2b6b85e&title=&width=394.90909090909093)

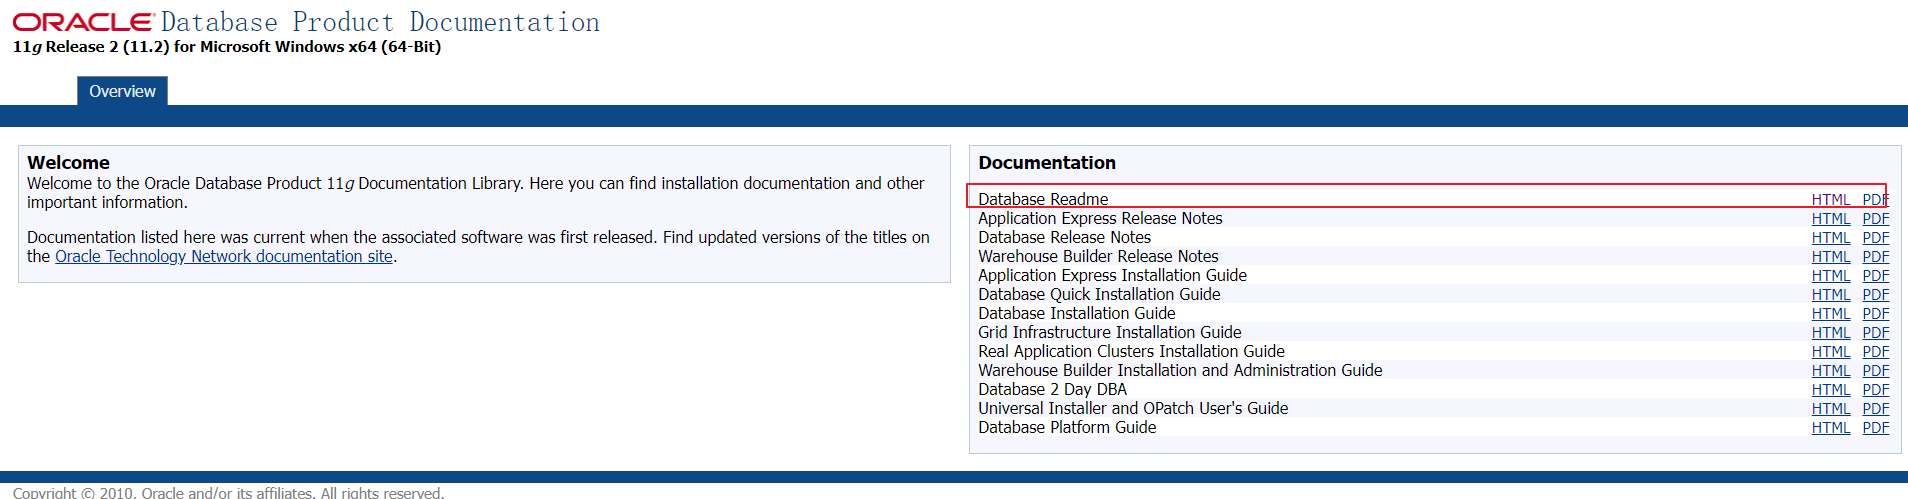
  • 解压完成后的 database文件夹如下,welcom.html 可以打开看下,里面有很多的文档;setup.exe 就是我们oracle的安装程序。

![image.png](https://img-blog.csdnimg.cn/img_convert/31b2c813d6e40d43e40f56b18e1cfbc1.png#clientId=ue9cad3d4-073f-4&crop=0&crop=0&crop=1&crop=1&from=paste&height=211&id=u7c6af4bf&margin=[object Object]&name=image.png&originHeight=290&originWidth=402&originalType=binary&ratio=1&rotation=0&showTitle=false&size=13716&status=done&style=none&taskId=u798796fd-1de6-4fce-97d2-f2f4e97deba&title=&width=292.3636363636364)![image.png](https://img-blog.csdnimg.cn/img_convert/1967ba0e57ad42558307447c0f2c64fb.png#clientId=ue9cad3d4-073f-4&crop=0&crop=0&crop=1&crop=1&from=paste&height=363&id=uc692bb9c&margin=[object Object]&name=image.png&originHeight=499&originWidth=1908&originalType=binary&ratio=1&rotation=0&showTitle=false&size=76047&status=done&style=none&taskId=u84219eb6-1ac2-4b59-90d2-a9bf59063ad&title=&width=1387.6363636363637)

开始安装
  • 360等安全软件全部退出
  • 防火墙关掉
  • 以管理员身份启动 setup.exe 安装程序

![image.png](https://img-blog.csdnimg.cn/img_convert/0770373efa7bfe0c5a80b8854739f00d.png#clientId=ue9cad3d4-073f-4&crop=0&crop=0&crop=1&crop=1&from=paste&height=316&id=u380d5780&margin=[object Object]&name=image.png&originHeight=434&originWidth=615&originalType=binary&ratio=1&rotation=0&showTitle=false&size=54200&status=done&style=none&taskId=ueea72b97-6585-4faf-b3f8-2f720b904aa&title=&width=447.27272727272725)

![image.png](https://img-blog.csdnimg.cn/img_convert/850b9134cc7b802c8a444c2159b7bfde.png#clientId=ue9cad3d4-073f-4&crop=0&crop=0&crop=1&crop=1&from=paste&height=392&id=u7425061e&margin=[object Object]&name=image.png&originHeight=539&originWidth=1118&originalType=binary&ratio=1&rotation=0&showTitle=false&size=132884&status=done&style=none&taskId=u42d08658-47e1-4f5e-a7f0-4622c1b858e&title=&width=813.0909090909091)

![image.png](https://img-blog.csdnimg.cn/img_convert/1af018a2554a59dcd55da31a45b9bc13.png#clientId=ue9cad3d4-073f-4&crop=0&crop=0&crop=1&crop=1&from=paste&height=477&id=uffa94f07&margin=[object Object]&name=image.png&originHeight=656&originWidth=1027&originalType=binary&ratio=1&rotation=0&showTitle=false&size=110939&status=done&style=none&taskId=u613b3314-3c09-480e-a22b-fd51fbddfe5&title=&width=746.9090909090909)

![image.png](https://img-blog.csdnimg.cn/img_convert/7c4b6dd45d7e22087e75350ccca12b04.png#clientId=ue9cad3d4-073f-4&crop=0&crop=0&crop=1&crop=1&from=paste&height=539&id=ua9536b51&margin=[object Object]&name=image.png&originHeight=741&originWidth=1039&originalType=binary&ratio=1&rotation=0&showTitle=false&size=117676&status=done&style=none&taskId=u24cc9f86-ac16-4232-9df7-b268ca86db8&title=&width=755.6363636363636)

![image.png](https://img-blog.csdnimg.cn/img_convert/3f1d29f199aaf191e0ee97fbba978a32.png#clientId=ue9cad3d4-073f-4&crop=0&crop=0&crop=1&crop=1&from=paste&height=531&id=u476c46ab&margin=[object Object]&name=image.png&originHeight=730&originWidth=996&originalType=binary&ratio=1&rotation=0&showTitle=false&size=136412&status=done&style=none&taskId=ucc2ea97d-06bf-4933-a855-7b3b8631364&title=&width=724.3636363636364)

![image.png](https://img-blog.csdnimg.cn/img_convert/7ada9ca9b0752ea0aed8f69ec4d63b1d.png#clientId=ue9cad3d4-073f-4&crop=0&crop=0&crop=1&crop=1&from=paste&height=516&id=uce138b04&margin=[object Object]&name=image.png&originHeight=709&originWidth=995&originalType=binary&ratio=1&rotation=0&showTitle=false&size=60202&status=done&style=none&taskId=uff821a04-a037-4d1a-8fcf-1eec066dc89&title=&width=723.6363636363636)
若输入的口令短小简单,安装时会提示不符合Oracle建议的标准。直接确认Y继续安装就是了。

下图中,安装前的一些相关选择配置信息。 可以保存成文件 或 不保存文件直接点完成即可
![image.png](https://img-blog.csdnimg.cn/img_convert/ca02e21f26b17cb71d34b0fd491dfa58.png#clientId=ue9cad3d4-073f-4&crop=0&crop=0&crop=1&crop=1&from=paste&height=540&id=u50db2f94&margin=[object Object]&name=image.png&originHeight=743&originWidth=996&originalType=binary&ratio=1&rotation=0&showTitle=false&size=166621&status=done&style=none&taskId=u8a114ee1-8bb0-432c-adb9-c5b1bb1b675&title=&width=724.3636363636364)

下面会安装数据库,创建数据库,要等一会儿。
![image.png](https://img-blog.csdnimg.cn/img_convert/442223a2049269ac4001011509d4baa4.png#clientId=ue9cad3d4-073f-4&crop=0&crop=0&crop=1&crop=1&from=paste&height=514&id=u4ac05ebb&margin=[object Object]&name=image.png&originHeight=707&originWidth=1031&originalType=binary&ratio=1&rotation=0&showTitle=false&size=163703&status=done&style=none&taskId=u420fde33-405e-4b55-a96b-e551061c845&title=&width=749.8181818181819)
实例数据库创建完成了,系统 默认是把所有账户都锁定不可用了(除sys和system账户可用外)
可以点口令管理,解锁一个scott的用户
![image.png](https://img-blog.csdnimg.cn/img_convert/137f264735407d0fdb188d1ccd290ab2.png#clientId=ue9cad3d4-073f-4&crop=0&crop=0&crop=1&crop=1&from=paste&height=501&id=uf3c0cb2b&margin=[object Object]&name=image.png&originHeight=689&originWidth=1200&originalType=binary&ratio=1&rotation=0&showTitle=false&size=288516&status=done&style=none&taskId=u02f1024f-fc3a-49d3-b173-4e58e800520&title=&width=872.7272727272727)
至此,安装完成。

登录验证

打开 SQL PLUS,用户 scott 登录验证一下
![image.png](https://img-blog.csdnimg.cn/img_convert/e5ca6042efafc9d1cc35722db1c35fb1.png#clientId=ue9cad3d4-073f-4&crop=0&crop=0&crop=1&crop=1&from=paste&height=109&id=u785fc758&margin=[object Object]&name=image.png&originHeight=150&originWidth=309&originalType=binary&ratio=1&rotation=0&showTitle=false&size=31627&status=done&style=none&taskId=u98330e25-3bce-4993-aeb2-af2aa8b3edb&title=&width=224.72727272727272)
![image.png](https://img-blog.csdnimg.cn/img_convert/e2aaee7d57868ac9c5c3f9039deb50e8.png#clientId=ue9cad3d4-073f-4&crop=0&crop=0&crop=1&crop=1&from=paste&height=223&id=ubd743ab7&margin=[object Object]&name=image.png&originHeight=307&originWidth=856&originalType=binary&ratio=1&rotation=0&showTitle=false&size=27454&status=done&style=none&taskId=u20228dee-7756-4a51-9a6b-ec5062c8199&title=&width=622.5454545454545)
登录成功!

关闭服务自动启动

Oracle的服务比较耗费资源,services.msc打开服务管理界面,自动启动改成手动
![image.png](https://img-blog.csdnimg.cn/img_convert/5cec5b745b9d4550fa285777263b7687.png#clientId=ue9cad3d4-073f-4&crop=0&crop=0&crop=1&crop=1&from=paste&height=189&id=u92c5ae80&margin=[object Object]&name=image.png&originHeight=260&originWidth=881&originalType=binary&ratio=1&rotation=0&showTitle=false&size=94381&status=done&style=none&taskId=uf18c4fad-ca4c-4c7f-b96e-eefc69e6a80&title=&width=640.7272727272727)

修改Oracle占用内存空间

打开SQL PLUS,管理员登录之后,执行如下命令:
alter system set memory_target=2048m scope=spfile;
设置自动内存管理的最大值,这个用默认值太占用资源了。

转载请注明:文章转载自 www.wk8.com.cn
本文地址:https://www.wk8.com.cn/it/1039756.html
我们一直用心在做
关于我们 文章归档 网站地图 联系我们

版权所有 (c)2021-2022 wk8.com.cn

ICP备案号:晋ICP备2021003244-6号